Table of Contents
ToggleA fresh coat of paint on your patio floor can completely reimagine your outdoor space without very costly. Whether you’re looking to refresh a tired concrete surface or add personality to a plain masonry floor, patio floor paint offers a budget-friendly solution that rivals full-scale renovations in impact. With advances in outdoor paint formulations and countless color and finish options now available, homeowners can achieve professional results with the right planning and technique. This guide walks you through everything you need to know about selecting colors, understanding paint types, preparing surfaces, and executing the application for results that last.
Key Takeaways
- Patio floor paint offers a budget-friendly solution to completely transform outdoor spaces, with neutral tones providing timeless appeal while bold colors create statement patios that command attention.
- Epoxy-based patio floor paints deliver superior durability and UV resistance for high-traffic areas, while acrylic latex paints are easier to apply and better for humid climates—choose based on your climate and foot traffic patterns.
- Proper surface preparation, including concrete etching and moisture testing, is critical to prevent peeling; skip this step and even premium paint will fail within a year or two.
- Matte and satin finishes hide imperfections and foot traffic better than gloss options, which become slippery when wet and pose safety risks on patios where guests are barefoot.
- Explore geometric designs, checkerboards, stenciled patterns, or two-tone techniques to add visual interest and define zones, transforming your patio floor paint project into a professional-looking showpiece.
- Allow 3–7 days of protection from foot traffic after painting, and paint during early morning or late afternoon to avoid direct sun that can cause brush marks and uneven results.
Popular Patio Floor Paint Colors That Elevate Outdoor Spaces
Neutral Tones for Timeless Appeal
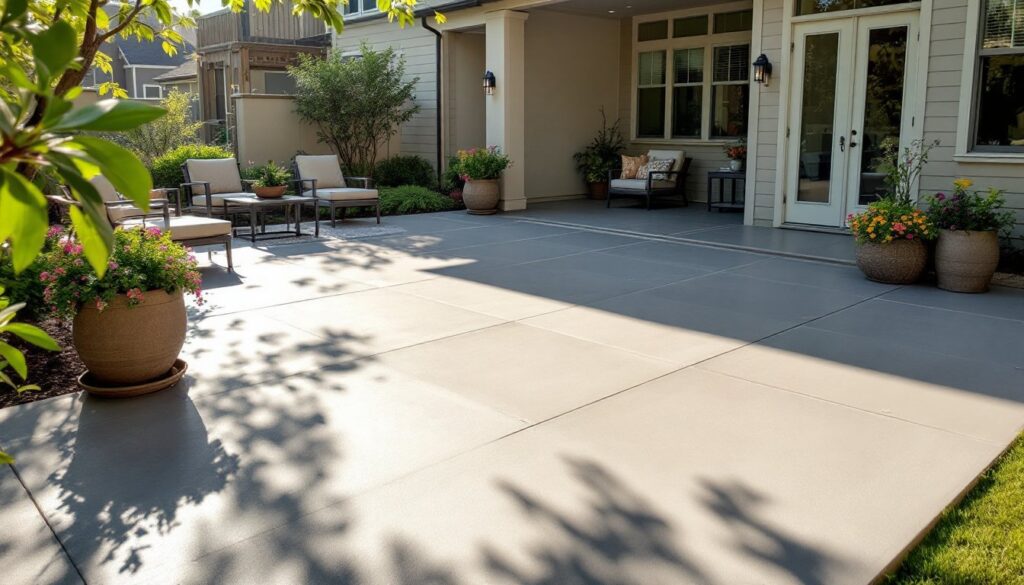
Neutral colors remain the safest choice for homeowners seeking longevity and versatility. Soft grays, warm taupes, creamy beiges, and charcoal tones pair easily with outdoor furniture, landscaping, and home exteriors of any style. A light gray holds up visually under sun exposure without showing every footprint, while warmer beige tones create an inviting atmosphere that complements both modern and traditional homes.
These colors also tend to reflect more heat than darker options, keeping your patio cooler underfoot on scorching days. Neutral palettes give you flexibility to update seating, planters, and decor seasonally without worrying about clashing with your floor. Architects and designers often gravitate toward experts’ favorite porch paint colors because neutrals age gracefully and maintain curb appeal for years.
Bold and Vibrant Options for Statement Patios
If you want your patio to command attention, bold colors inject personality and energy into the space. Deep navy, forest green, terracotta red, and even muted jewel tones like dusty teal can create a sophisticated, curated look that makes your outdoor entertaining area feel intentional and stylish.
Bold colors work best on larger patios where the visual weight won’t overwhelm the space, and they pair beautifully with neutral or complementary accent colors. A dark color can also hide wear and dirt better than lighter shades, which is practical if your patio gets heavy foot traffic. The trade-off is that darker floors absorb more heat, so consider how that affects your comfort level and furniture durability over time.
Best Paint Types and Finishes for Patio Durability
Choosing the right paint type is non-negotiable for outdoor longevity. Epoxy-based patio paints bond exceptionally well to concrete and masonry, resist UV fading, and withstand moisture and temperature swings that would wreck standard exterior paint. Epoxy is harder and more durable than acrylic or polyurethane, making it ideal if your patio sees heavy foot traffic or weather extremes.
Acrylic latex paints designed for exterior concrete are more forgiving to apply and lower in odor than epoxy. They breathe better than epoxy, which means they won’t trap moisture underneath, a real advantage in humid climates or shaded patios prone to dampness. Acrylic concrete paints are easier to touch up later, though they may require recoating sooner than epoxy.
Polyurethane-modified concrete paint sits between epoxy and acrylic in durability and application ease. It bonds strongly, resists UV damage, and cleans up with water, making it a solid middle-ground option.
For finishes, matte or flat profiles hide imperfections and foot traffic better, while semi-gloss or gloss finishes reflect light and are easier to clean but can be slippery when wet. Most DIYers choose a satin or semi-gloss finish, it’s practical and forgiving without being too shiny. Avoid high-gloss for floors: the slip risk isn’t worth the aesthetics, especially on patios where guests might be barefoot or wearing smooth-soled shoes.
Concrete and Masonry Floor Paint Essentials
Concrete and masonry demand respect before you open a paint can. These porous surfaces pull moisture upward, a phenomenon called capillary wicking, and if you skip sealing or fail to address moisture issues first, your paint will peel within a year or two.
Start by determining moisture levels using a moisture meter. If your patio drains poorly or sits in shade most of the day, you may need a concrete moisture barrier or primer designed to manage moisture transmission. Concrete etching products open the surface pores and remove any latent sealer or curing compound, improving paint adhesion dramatically. Skip this step, and even premium paint won’t stick properly.
For brick, pavers, or stone, the principle is the same: surface prep determines success or failure. A pressure washer set to 1500–2000 PSI removes built-up dirt, moss, and algae, but use caution, too much pressure damages softer brick or stone. After washing, allow at least 48 hours of dry time before priming and painting. Standard exterior latex or epoxy concrete primers work on masonry, but specialty masonry primers handle mineral salts and provide superior adhesion on uneven surfaces. Coverage varies by surface porosity: rough masonry consumes more paint than smooth concrete, so budget extra material when painting stone or rough-textured brick.
Preparation and Application Tips for Long-Lasting Results
Preparation separates weekend warriors from frustrated DIYers. Start by sweeping and vacuuming, then wash the entire surface with a stiff-bristled broom and a degreasing cleaner, especially around grills or areas where food spills accumulate. Concrete cleaner or a mild TSP (trisodium phosphate) solution cuts through embedded grime without residual film.
Once dry, use concrete etcher or a self-etching primer as directed on the label. This step opens the surface and removes sealer residue, which is critical for adhesion. For cracks wider than 1/8 inch, use concrete crack filler before priming: narrow cracks can be painted over if you’re not concerned about aesthetics.
Application technique matters. Use a quality roller with a 3/8- to 1/2-inch nap for textured concrete or a 1/4-inch nap for smooth surfaces. Start with primer, applying according to manufacturer specifications, usually two coats for concrete. Allow full cure time between coats: don’t assume “dry to touch” means you can apply the next coat. Paint in early morning or late afternoon to avoid direct sun, which accelerates drying and can cause brush marks and lap lines.
Apply two coats of finish paint, maintaining a consistent wet edge to avoid lap marks. The DIY project guides and emphasize patience over rushing: a slow, methodical approach and proper drying time between coats yields professional results. Protect the finished floor from foot traffic for 3–7 days, depending on your paint type and temperature.
Design Patterns and Techniques to Consider
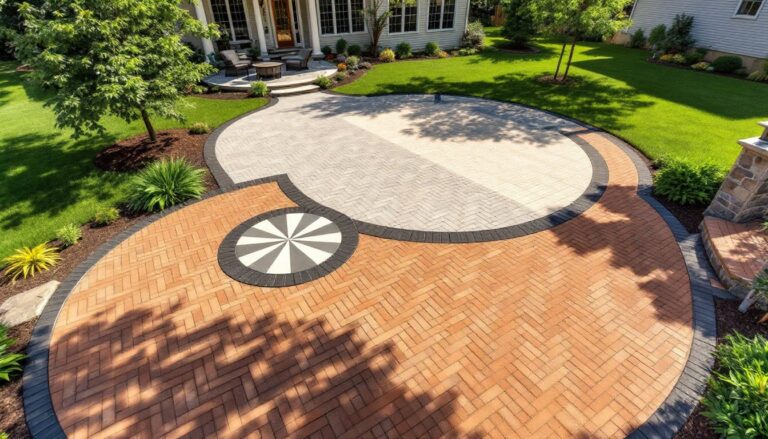
Once you’ve mastered solid color application, explore patterns to add visual interest. Geometric designs, checkerboards, stripes, or border frames, break up large patios and define seating zones without permanent construction. Tape off sections using painter’s tape for crisp lines, and apply contrasting colors in measured sequences.
Stenciled patterns (botanical motifs, geometric tiles, or medallions) require patience but deliver wow-factor results. Secure stencils firmly to prevent paint bleed-through, and use a foam roller or stipple technique rather than dragging a standard roller. Let paint dry completely before moving the stencil.
Faux finishes like sponging, ragging, or adding aggregate create texture and visual depth. Broadcast texture, sprinkling colored sand or quartz grit onto wet paint, adds slip resistance and hides wear patterns, which is especially useful for high-traffic patios or entries.
For pools, spas, or entertaining spaces, outdoor entertaining ideas and regional design trends showcase how bold accent colors or subtle gradients enhance the overall aesthetic. Two-tone designs (darker border, lighter field) visually enlarge small spaces, while a central motif or feature area draws the eye and creates focal points around furniture groupings or fire pit seating.